
Installing roof flashing isn't just about slapping on some metal. It's a precise process of cutting, shaping, and layering materials to create a waterproof seal at your roof's most vulnerable points—like valleys, chimneys, and vents. As any reliable roofing company will tell you, this is one job where precision is everything. Get it right, and you prevent costly leaks for years to come.
Why Proper Roof Flashing Is Your Best Defence
Before you even think about climbing that ladder, let's get one thing straight: roof flashing is the unsung hero of a healthy roof. It's not just a strip of metal; it’s a carefully engineered barrier that protects the most vulnerable intersections of your home.
Think about all the places your roof surface is interrupted or meets a vertical wall—chimneys, skylights, vents, or the valleys where two roof planes meet. These are the natural weak spots where water will try to get in. Flashing is what stops it.
Imagine a classic Aussie downpour. Water sheets down your roof, and without flashing, it would find its way right into the gaps around these structures. Even a tiny, improperly sealed gap can funnel a shocking amount of water into your attic and walls, leading to wood rot, mould, and serious structural damage down the line.
The Real Job of Flashing: Keeping Water Out
At its core, flashing's job is simple: direct water away from seams and joints. For example, step flashing is a brilliant system. It uses a series of overlapping metal pieces that are woven into the shingles right alongside a wall. Each piece channels water onto the shingle below it, creating a layered, fail-safe barrier that prevents water from ever reaching the vulnerable join underneath.
You can find more detail on how to stop roof leaks in our comprehensive guide.
Any reliable roofing company knows that a staggering 90% of roof leaks come from flashing failures, not the main roofing material. Getting the installation perfect from the start is the single best thing you can do for a watertight, long-lasting roof.
Here in Australia, correct installation isn't just a good idea—it's mandated by strict building codes. The National Construction Code (NCC) spells out specific flashing methods to guarantee a watertight seal around every roof penetration.
For example, the code requires that over-flashing must cover the upstand of the flashing by at least 50mm and be chased into the wall a minimum of 25mm. This tiny detail is what stops water from getting behind the flashing. This focus on precision shows that proper installation isn't just a recommendation; it's a critical safety and structural requirement for every Australian home.
Choosing the Right Tools and Flashing Materials

Any reliable roofing company will tell you that a professional job starts long before you step onto the roof. It begins with your setup. The quality of your flashing installation hinges entirely on having the right tools for the task and choosing materials that will stand the test of time. Getting this part right saves you from a world of future headaches and guarantees a watertight, durable finish.
Before you even think about climbing that ladder, let’s get your gear in order. This isn't just about making the job easier; it's about keeping you safe. Good non-slip boots and a properly fitted safety harness are absolutely non-negotiable when you’re working at height.
Essential Tools for Flashing Installation
Once your safety gear is sorted, it’s time to assemble your toolkit. You'll need a few specialised tools to handle and shape the flashing correctly.
Here’s what our team recommends having on hand:
- Tin Snips: Also called aviation snips, these are essential for making clean, precise cuts in metal flashing.
- Caulking Gun: A quality gun is a must for applying sealant smoothly and evenly into every gap.
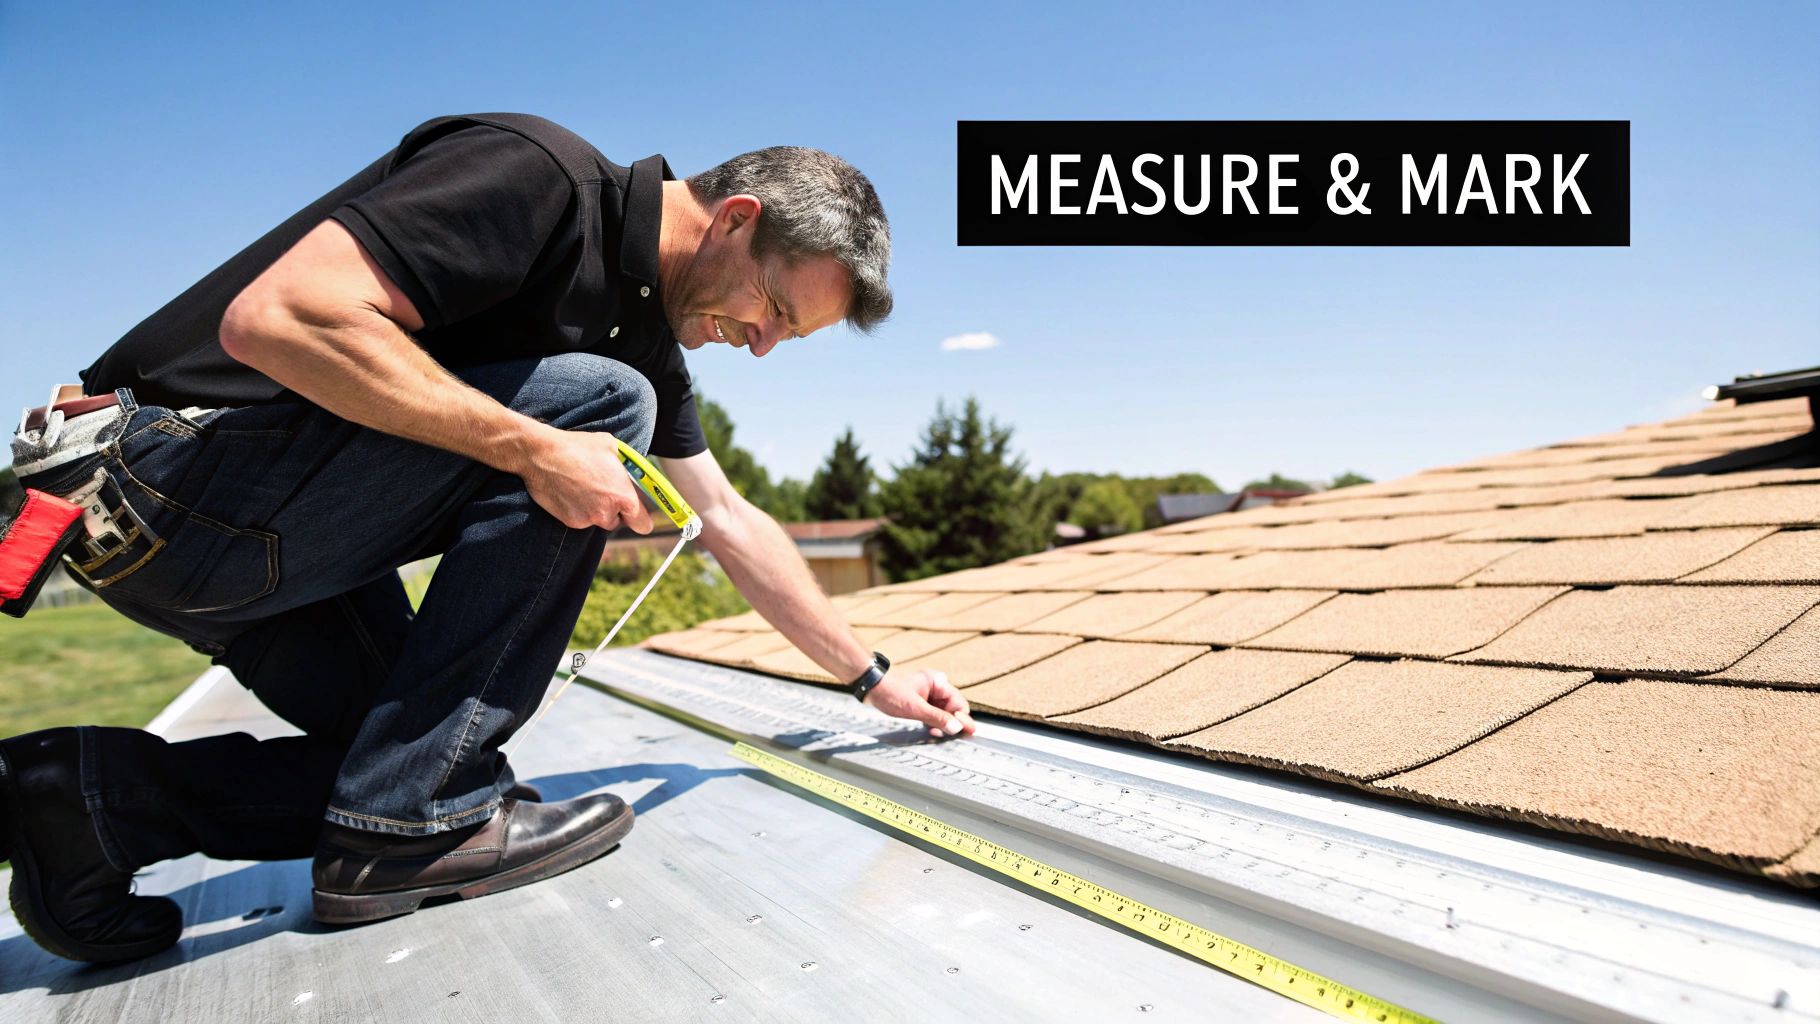
- Basic Hand Tools: Don’t forget a reliable hammer, a measuring tape for accuracy, and a chalk line for snapping perfectly straight guides.
Each tool has a specific job. Trying to improvise usually leads to a sloppy, and often leaky, result.
A common mistake we see all the time is using the wrong fasteners. Never grab standard nails from your toolbox. You must use galvanised or stainless steel roofing nails, the ones with a small neoprene washer. This creates a waterproof seal and prevents rust, which can completely compromise your hard work down the line.
Selecting the Best Flashing Material
The material you pick is just as critical as your installation technique. To help you weigh your options, here’s a quick breakdown of the most common materials we use in the field.
Comparison of Common Roof Flashing Materials
| Material | Pros | Cons | Best For |
|---|---|---|---|
| Galvanised Steel | Strong, durable, rust-resistant, affordable. | Can be heavy and harder to cut than aluminium. | A great all-rounder for most residential and commercial roofs. |
| Aluminium | Lightweight, easy to bend and shape, won't rust. | Can be more expensive and less durable than steel. | Coastal areas with salty air; jobs where weight is a concern. |
| Lead | Extremely malleable, durable, excellent for complex shapes. | Toxic, heavy, very expensive. | Historic building restorations and complex roof junctions. |
| Flashing Tape | Flexible, fast to install, self-adhesive, great seal. | Can have a shorter lifespan than metal; requires a clean surface. | Quick repairs, sealing around modern skylights and vents. |
Traditional options like galvanised steel and aluminium have been the go-to for years because they’re durable and cost-effective. Steel is a tough workhorse, while lightweight aluminium is a dream to work with, especially in coastal regions where rust is a major enemy.
However, the industry is always evolving. We're seeing a big shift in how roof flashing is installed in Australia, with adhesive flashing tapes becoming incredibly popular. These tapes are a fantastic, eco-friendly alternative to traditional lead and metal, offering a flexible and fast solution that’s perfect for our diverse and often severe weather. They simplify the whole process, cut down on labour time, and create an incredibly reliable waterproof seal.
Ultimately, your choice depends on your specific roof, your budget, and the local climate. If you're still weighing your options, our guide on how to choose the right roofing material offers more detailed advice to help you make the best decision for your project.
Installing Flashing on Different Roof Areas
Installing roof flashing properly isn't a one-size-fits-all job. You need to know the right technique for each specific part of the roof. The basic idea of layering materials to shed water is always the same, but how you do it changes completely when you move from a wall join to a roof valley or around a plumbing pipe. Nailing these distinct applications is what truly separates a watertight roof from a disaster waiting to happen—it's the mark of any reliable, professional roofer.
But before we even think about cutting metal, let's talk safety. It's the absolute first priority on any job site. This simple guide breaks down the three essential checks every roofer should perform before climbing that ladder.
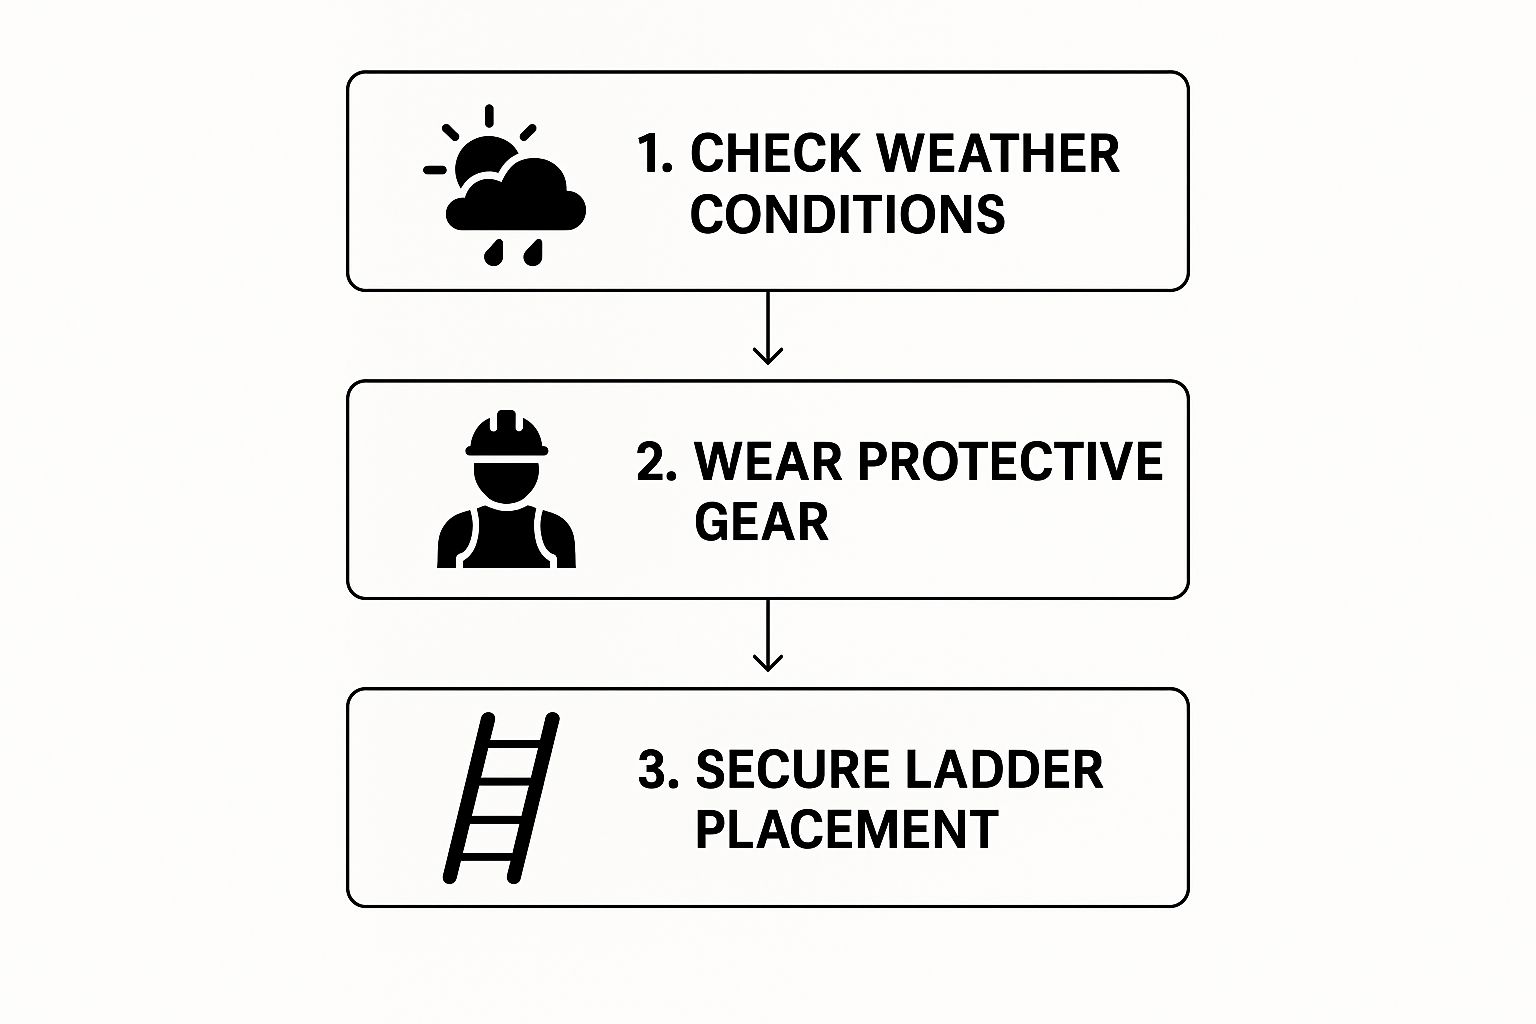
This really drives home a core truth of the trade: a safe job is a successful one. A quick check of the weather, wearing the proper gear, and making sure your ladder is rock-solid are the non-negotiables. Get these right, and you can put all your focus on delivering a quality installation.
Mastering Step Flashing Along a Wall
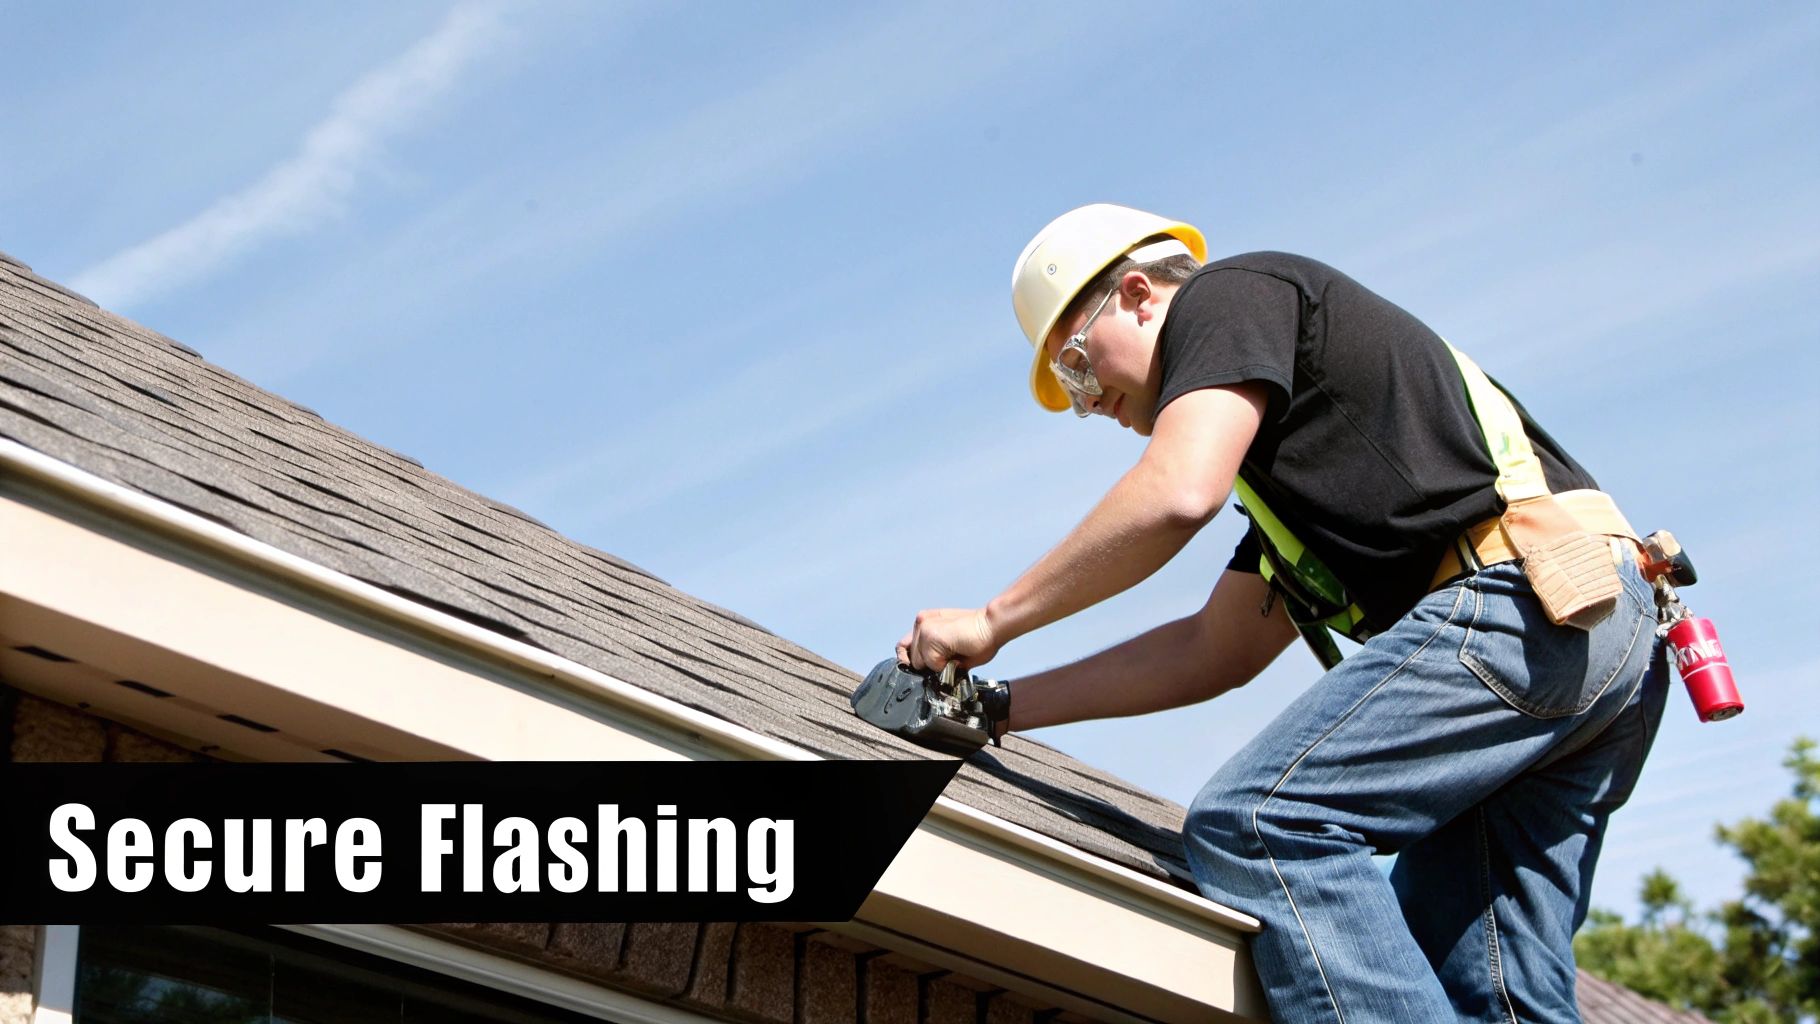
Step flashing is your go-to method for waterproofing the join where a sloped roof butts up against a vertical wall—think of a chimney or the side wall of a second storey. This isn't one long, continuous piece of flashing. Instead, it’s a series of smaller, individual pieces that you weave into the shingles as you go.
The whole process is a sequence of layering metal and shingles to constantly direct water down and away from that vulnerable wall join. You'll lay your first L-shaped piece of flashing down, with one side flat on the roof deck and the other running up the wall. Your first shingle course goes right over the flat part of that flashing. Then, you place the next piece of flashing over that shingle, making sure it overlaps the first piece below it. You just keep repeating this "step-by-step" pattern all the way up the roof. It creates a tough, multi-layered shield against water.
Here's a pro tip we can't stress enough: ensure every piece of step flashing overlaps the one below it by at least 75mm. That generous overlap is your best defence against heavy, wind-driven rain that tries to push its way up and under everything.
Securing Valley Flashing
Roof valleys are critical junctions where two roof planes meet, funnelling a huge amount of water. If you get this wrong, you're asking for trouble. The most reliable method is to install a continuous piece of 'W'-shaped metal valley flashing that runs the full length of the channel.
Before that metal even touches the roof, we always recommend installing a self-adhering waterproof membrane directly onto the roof deck first. Think of it as a backup layer of protection. The 'W' flashing then goes on top. That central rib or "crimp" in the 'W' is designed to stop water rushing down one side of the roof from splashing up and underneath the shingles on the other side.
When you're trimming the shingles to meet the valley, a common mistake is cutting them right down the centreline. Don't do it. Instead, snap a chalk line about 50mm out from the centre on both sides and trim your shingles along those lines. This leaves a clean, open channel for water, leaves, and other debris to flow straight down without getting snagged. This kind of precision is especially vital for a tricky metal roofing installation, where every cut counts.
Sealing a Vent Pipe Flashing
Anything that pokes through your roof, like a plumbing vent, is a prime suspect for leaks if it’s not flashed perfectly. For these, you'll use a pre-made vent pipe flashing, which is basically a flat piece of metal with a flexible rubber boot fused to the centre.
Getting the layering right is everything here. Here’s how it works:
- First, you slide the flashing down over the pipe until it sits flat on the roof.
- The bottom edge, or flange, of the flashing must lie on top of the shingles directly below it.
- Critically, the side and top flanges of the flashing have to be tucked underneath the surrounding and upper shingle courses.
This order ensures that any water flowing down the roof travels over the flashing, not under it. Once it's all in place, run a neat bead of quality roofing sealant around the top of the rubber boot where it hugs the pipe. But remember, sealant is just for backup—the real work is done by the mechanical overlap of the flashing and shingles.
Flashing for Solar Panels and Modern Roofs
Modern homes bring their own set of roofing challenges, and our flashing techniques have had to evolve right alongside them. The biggest game-changer lately? The incredible boom in residential solar power. This has introduced a whole new array of roof penetrations, each one needing a perfect, long-lasting seal. Knowing how to properly flash around solar panel mounts isn't just a niche skill anymore—it's become a core competency for any serious roofer.
When you're dealing with solar mounts, there is absolutely no room for error in your waterproofing. A single, poorly sealed mounting bolt becomes a direct channel for water to get into the roof frame, which can quietly cause thousands of dollars in damage. That’s precisely why any reliable roofing company will insist on using flashing systems designed specifically for the job.
Specialised Flashing for Solar Installations
This is not the place to get creative with a bit of generic flashing and a tube of silicone. For solar installations, you need to be using purpose-built flashing kits. These aren't just fancy accessories; they are engineered systems designed to create a bulletproof seal around the lag bolts that anchor the solar racking into your roof's rafters.
A typical solar flashing kit will include a few key components:
- The base plate: This is your main piece of flashing. It’s shaped to slide up and under the shingles or tiles directly above the penetration.
- An elevated collar or stalk: This part stands up from the base plate, creating a raised platform for the mounting bolt. This keeps the actual penetration point well above the flow of water.
- A rubber or EPDM gasket: This creates a tight, compressive seal right around the bolt shank, acting as your final defence against moisture.
The core principle here is the same as any other flashing job: layering is everything. The base plate has to be positioned so the shingle above it overlaps completely, forcing water to run right over the top. This mechanical water diversion is your primary line of defence. The sealant and gasket are your backup, providing that crucial secondary barrier.
A critical point our team always stresses on-site: the solar mount must be bolted directly into a roof rafter, not just into the plywood or sarking. This isn't just a waterproofing issue; it's a structural one. The mounting has to withstand the panel's weight and significant wind uplift. Missing a rafter is one of the most common—and dangerous—mistakes you can make.
Roof flashing is playing an absolutely crucial role in Australia's solar boom. In fact, as of 2024, a staggering 36% of Australian homes now have photovoltaic (PV) systems on their roofs. This massive uptake means flashing must be tougher than ever, handling more penetrations and extra weight while keeping everything watertight. Australian standards are quite specific on this, and you can learn more about how they apply by reading up on solar roof flashing in Australia at aztecau.com.au.
Common Installation Mistakes and Pro Tips
Even with the best plan in hand, installing roof flashing can be tricky. Over our 20 years on roofs, we’ve seen the same small mistakes snowball into massive problems. This is where we get past the textbook steps and into the real-world knowledge that makes the difference between a decent DIY job and a truly professional, watertight finish. Think of this as the advice you'd get from a reliable roofing company that's seen it all.
One of the most common blunders? Using the wrong fasteners. Just grabbing any old nail from your toolbox is a recipe for disaster. Standard nails will rust, expand, and eventually create a perfect little highway for water to get in. You absolutely must use galvanised or stainless steel roofing nails, preferably the ones with neoprene washers. They're designed specifically to create a secure, waterproof seal that stands up to the weather without corroding.
Another classic slip-up is getting the sealant wrong—either using too little or, more often, relying on it too much. A thick, messy glob of silicone isn't a substitute for properly layered flashing. Sealant is your backup, not your primary line of defence. Its job is to seal the very final edges, not to plug gaps left by a poor mechanical fit.
Overlapping and Cutting Errors to Avoid
Getting the overlaps wrong is a critical failure. Water is incredibly persistent; wind and capillary action can drive it uphill, right where you don't want it. For step flashing, you need a minimum overlap of 75mm to stop wind-driven rain from sneaking underneath. And in valleys, never cut your shingles too close to the centreline. Leaving a 50-100mm open channel is vital for letting leaves and debris wash away freely.
Poor cutting is another dead giveaway of an amateur job. Jagged edges don't just look sloppy; they can create tiny channels for water to follow. Always use a good pair of tin snips for clean, straight cuts. If you need to bend the flashing, it helps to score it lightly first and use a block of wood to get a sharp, clean fold. A neat finish isn't just for appearances—it's a huge part of how well it performs.
The whole point of flashing is to create a layered system where the materials do the work. The mechanical overlap of metal and shingles should make the roof watertight even before you touch a tube of sealant. Think of it as a series of one-way doors for water, always guiding it down and off the roof.
Pro Tips for a Flawless Finish
Beyond just avoiding mistakes, a few professional tricks can really lift the quality of your work. For instance, when you're fastening step flashing against a wall, resist the urge to nail the vertical section directly into the wall sheathing. Instead, the counter-flashing—which is embedded into a mortar joint—should cover it. This clever trick allows the roof and wall to expand and contract independently, preventing stress and future tears.
Here are a few more tips we’ve picked up over the years for a clean, professional result:
- Hide your fasteners: Whenever you can, place your nails where the next shingle or the counter-flashing will cover them up. It’s cleaner and offers better protection.
- Add a kick-out: At the very bottom of a roof-to-wall junction, install a small, angled piece of "kick-out" flashing. This small detail is a game-changer; it directs water away from the wall and straight into the gutter, preventing those ugly water stains and rot.
- Make crisp bends: For any visible flashing, like around a chimney, take the extra minute to make your bends sharp and precise. It doesn’t just look a hundred times better; it also ensures a much tighter fit against the roofing materials.
Learning how to install roof flashing is all about mastering these details. Any reliable roofing company knows it's these small things that add up to a leak-free roof that will last for decades.
Answering Your Roof Flashing Questions
Even with the best guide in hand, a real-world job like installing roof flashing always throws up a few extra questions. It’s one thing to read the steps, but it's another to be up on the roof with tools in hand.
This section tackles the common queries we hear all the time from homeowners and budding DIYers. Think of it as that final bit of advice you'd get from a seasoned roofer over the phone right before you start climbing the ladder. Getting these specifics right can make all the difference.
Can I Install New Flashing Over Old Flashing?
This is a classic question, and while it seems like a tempting time-saver, the answer from any reputable professional is a firm no. Putting new flashing over old, damaged material is asking for problems down the track.
The old flashing is likely failing for a reason—it’s probably rusted, bent, or has cracked seals. Simply covering it up hides the real issue and often traps moisture and dirt underneath. This creates the perfect conditions for timber rot to silently destroy your roof decking.
To do the job properly, you have to strip the old stuff off completely. It’s the only way to get a good look at the timber underneath, fix any hidden damage, and ensure your new flashing sits on a clean, sound surface for a watertight seal.
What Is the Best Sealant for Roof Flashing?
Picking the right sealant is just as important as the flashing itself. You’ll want to reach for a high-quality polyurethane or silicone-based caulk that’s specifically formulated for roofing and exterior use. These sealants are built to withstand harsh UV rays and stay flexible as temperatures swing from hot to cold, which prevents them from cracking.
A word of caution: steer clear of standard acrylic latex caulk. It might be fine for indoor trim, but it will dry out, crack, and fail very quickly when exposed to the Aussie sun and rain. Always double-check the label to ensure the product is compatible with your flashing material, whether that’s galvanised steel, aluminium, or something else.
How Do I Know When My Flashing Needs Replacement?
You don't have to be a professional to spot failing flashing. A regular look from the ground (or safely from a ladder) is usually all it takes.
Here are the dead giveaways to watch for:
- Visible Damage: Look for obvious rust spots, deep corrosion, significant dents, or cracks in the metal. These are signs the flashing has lost its integrity.
- Failed Sealant: Check the sealant along the edges. If it’s peeling away, cracked all over, or has chunks missing, it’s no longer waterproof.
- Loose Sections: Any piece of flashing that has lifted or pulled away from the roof surface or wall needs immediate fixing.
- Interior Leaks: This is the most urgent red flag. If you see water stains appearing on your ceilings or walls, especially around chimneys, vents, or skylights, your flashing is almost certainly the culprit.
For any roofing job, whether it's a small repair or a full-scale installation, you need a team you can rely on. Commercial Roofers brings over 20 years of hands-on expertise to every project, protecting your property with top-tier materials and professional workmanship. If you’re looking for a trusted roofing company to get the job done right, visit Commercial Roofers for a free, no-obligation quote.